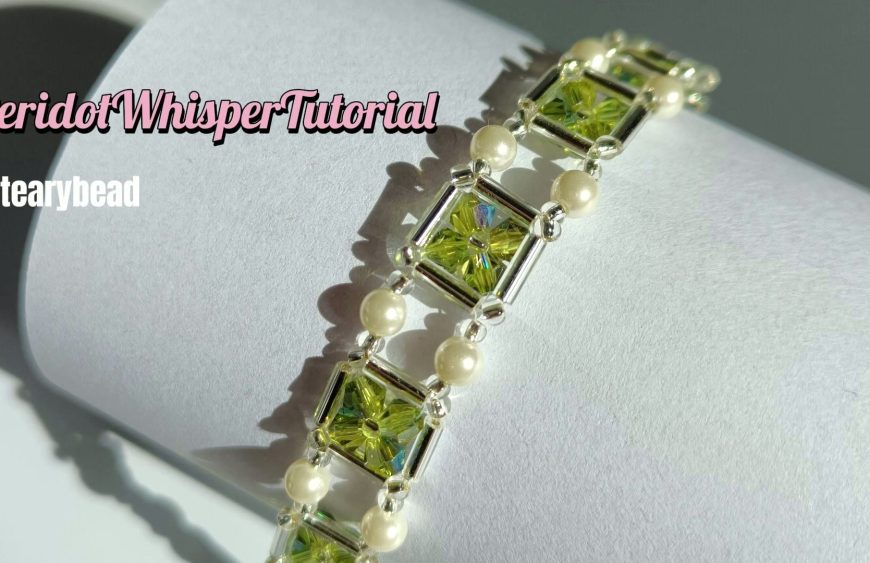
Ready to create a piece of jewelry that looks like it came from a high-end boutique? You’ve come to the right place! In this tutorial, we’ll guide you through making a stunning and elegant beaded bracelet. This design features a sophisticated geometric pattern, sparkling olive green crystals, and classic crystal pearls, all woven together to create a true work of art.
This project is perfect for beaders of all skill levels. Whether you’re just starting your jewelry-making journey or are a seasoned pro looking for your next masterpiece, this guide is for you.
Want to see the process in action? Watch our full video tutorial on YouTube before you start!
Why You’ll Love DIY Beaded Bracelet
- Professional Results: The unique combination of Miyuki bugle beads and briolette crystals creates a structured yet delicate design that looks professionally made.
- Fully Customizable: We’re using a gorgeous olive green and silver palette, but you can easily switch up the colors to match your personal style.
- Skill-Building: This tutorial teaches a versatile beading technique that you can adapt for other jewelry pieces like necklaces or earrings.
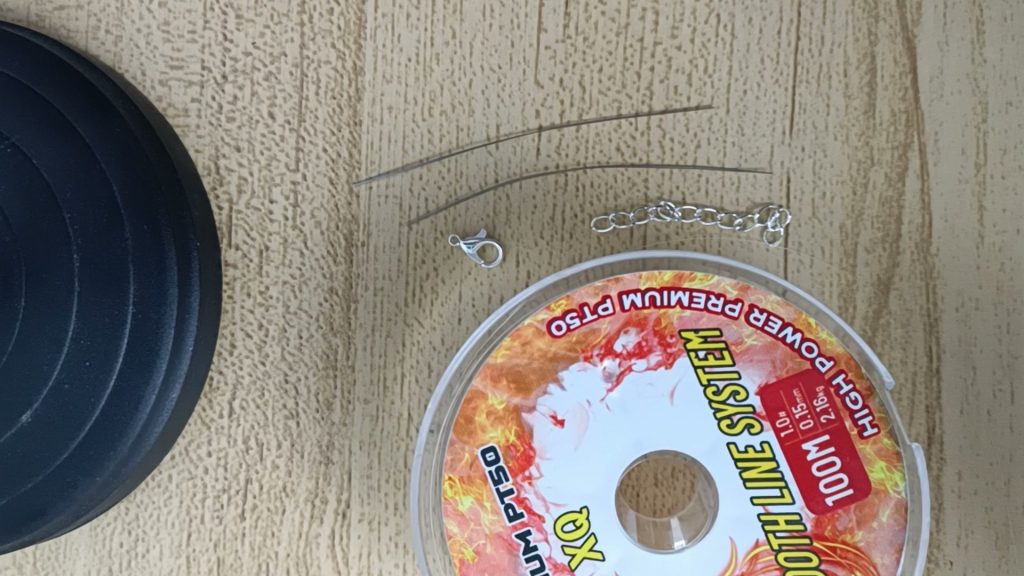
Materials and Tools You’ll Need
Gathering the right materials is the first step to success. The specific shapes and sizes of these beads are key to achieving the bracelet’s beautiful structure.
- Beads:
- Olive Green Briolette Beads: These teardrop-shaped crystals are the star of the show, adding a beautiful pop of color and sparkle.
- Crystal Pearls: Add a touch of timeless elegance and a soft glow.
- Miyuki 6mm Silver-Lined Bugle Beads: These long, tubular beads form the rectangular frame for our components. The silver lining provides extra shine.
- Miyuki 2mm Silver-Lined Seed Beads: These small, round beads act as perfect spacers and structural elements.
- Tools & Findings:
- Beading Thread: A strong, thin thread is essential. The video uses 0.15mm FireLine, which is a great choice for its durability and resistance to fraying.
- Beading Needles (x2): Using two needles at once is key to this weaving technique.
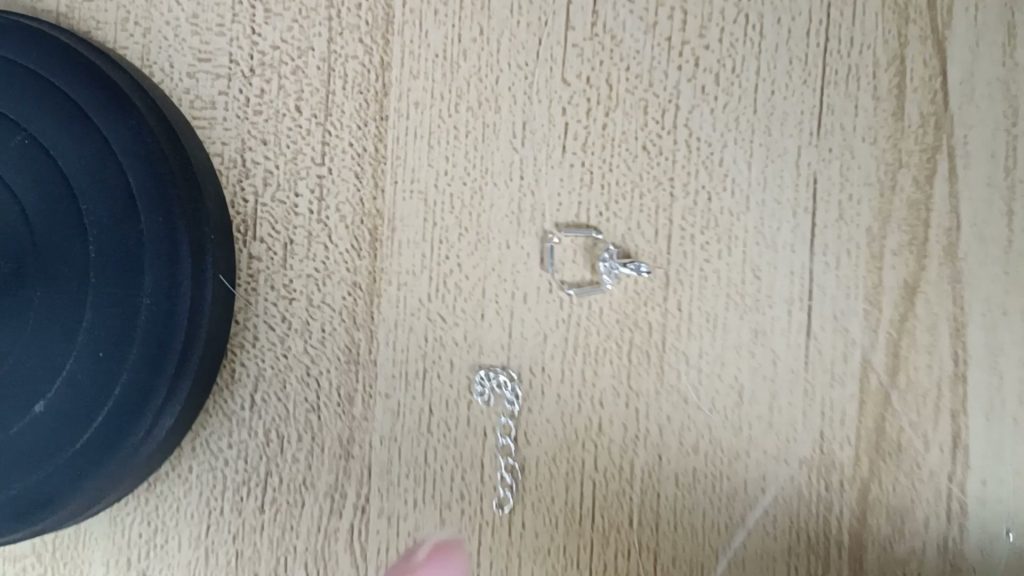
- Clasp and Extender Chain: Choose a style that complements your beads. A lobster clasp is a secure and popular option.
- Bead Mat or Tray (Optional): Highly recommended to keep your beads organized and prevent them from rolling away.
Let’s Start Beading! Step-by-Step Instructions
We will construct this bracelet by creating repeating “links.” Follow these steps carefully, and don’t forget to refer to the video if you need a visual!
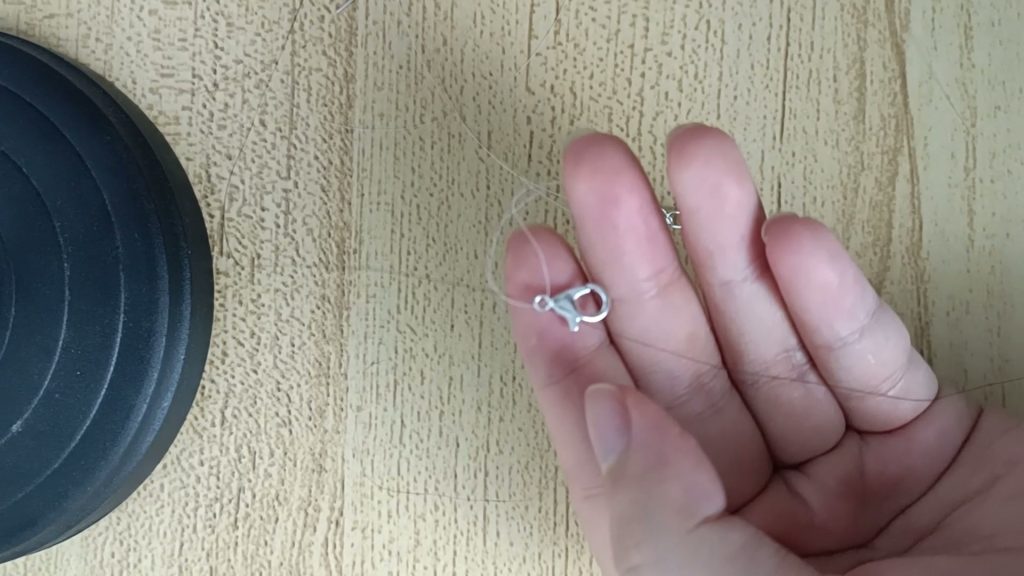
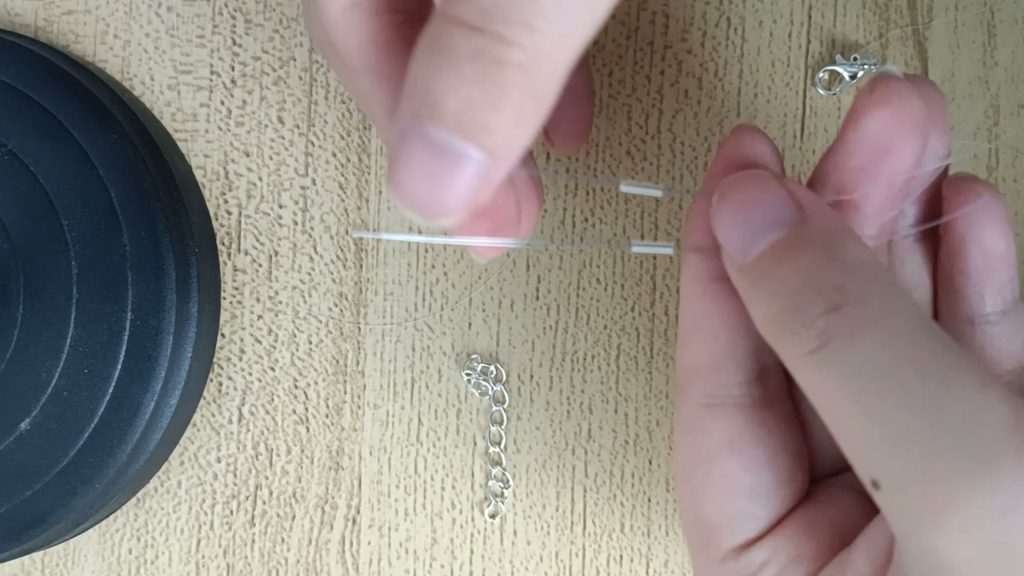
Step 1: Prepare Your Thread and Attach the Clasp
- Cut Your Thread: Start with a generous length of beading thread, about one full arm’s length. This prevents you from running out of thread mid-project.
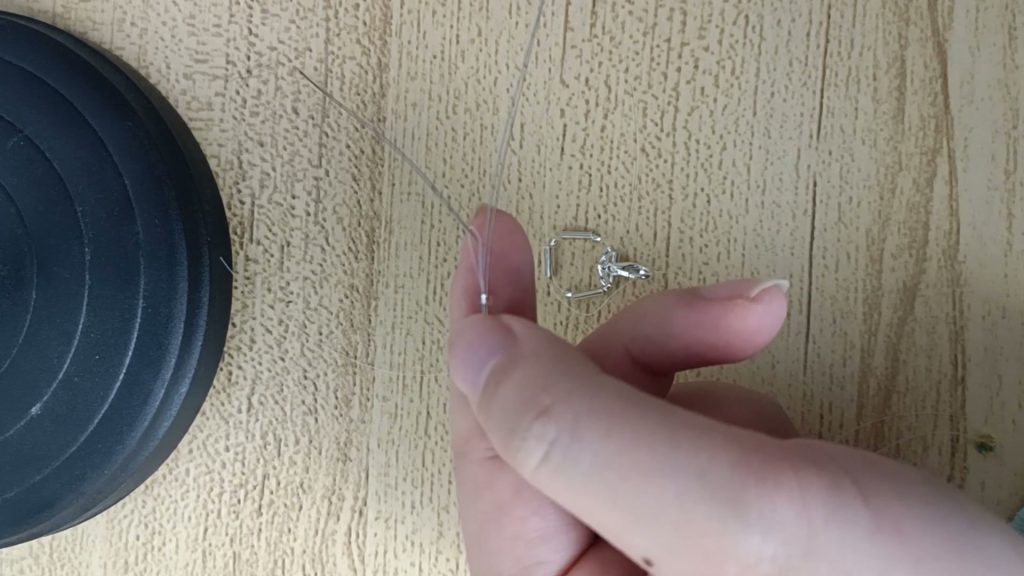
- Attach the Clasp: Fold the thread perfectly in half. Pass the looped end through the ring on your clasp. Then, guide the two loose ends of the thread through that loop and pull tight. This creates a secure, knotless attachment.
- Thread Your Needles: Thread one needle onto each end of the thread. You are now set up for the two-needle weaving technique.
Step 2: Creating the First Beaded Component
This is the core rectangular link that frames the briolette crystals.
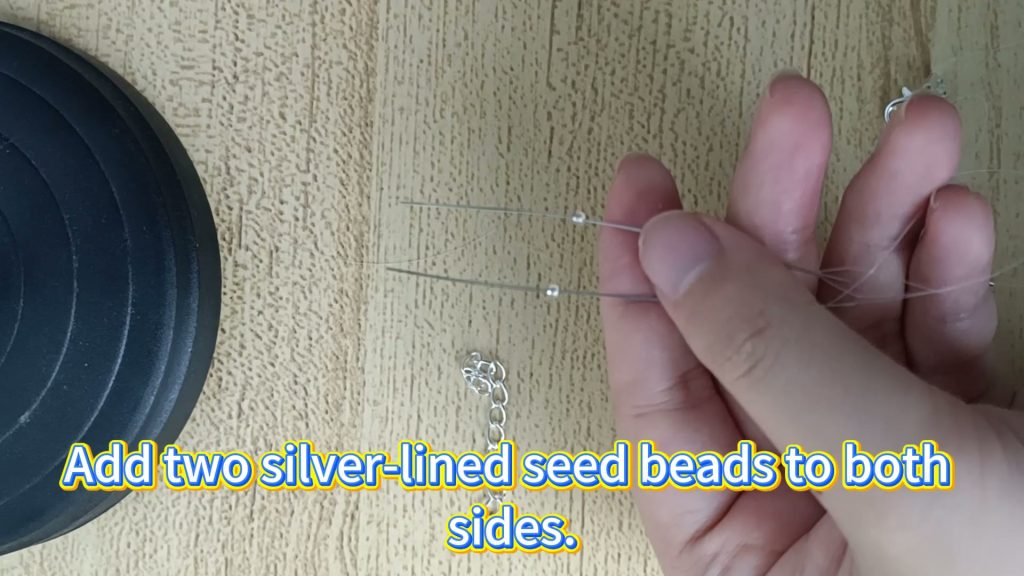
- Add Seed Beads: On each needle, thread one 2mm seed bead. (Timestamp: 00:14)
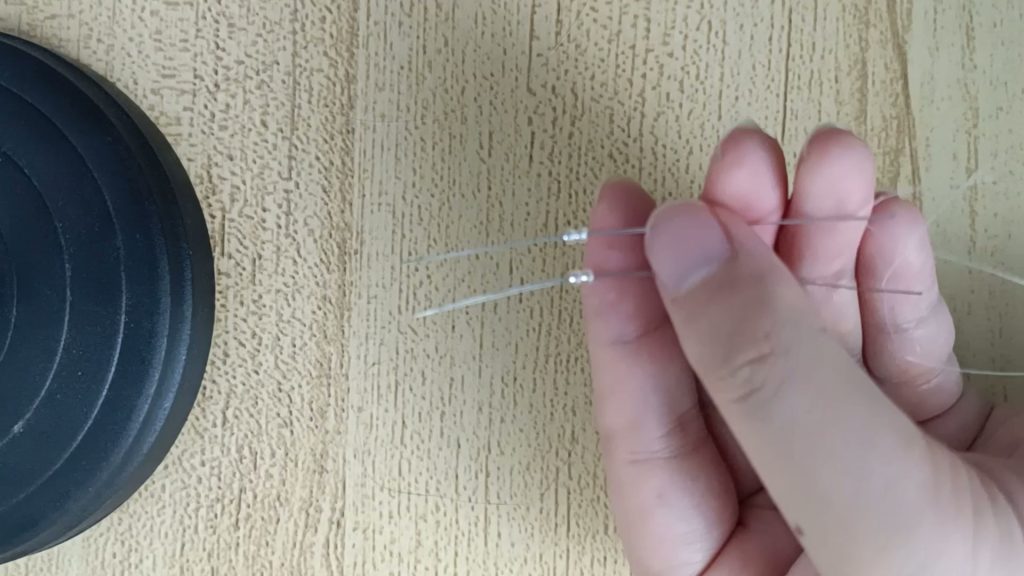
- Add the First Bugle Bead: Take one 6mm bugle bead and pass both needles through it, but from opposite directions (one needle goes left-to-right, the other goes right-to-left). Pull the threads taut. This locks the bead in the center. (Timestamp: 00:18)

- Build the Sides:
- Add one 2mm seed bead to each needle. (Timestamp: 00:22)
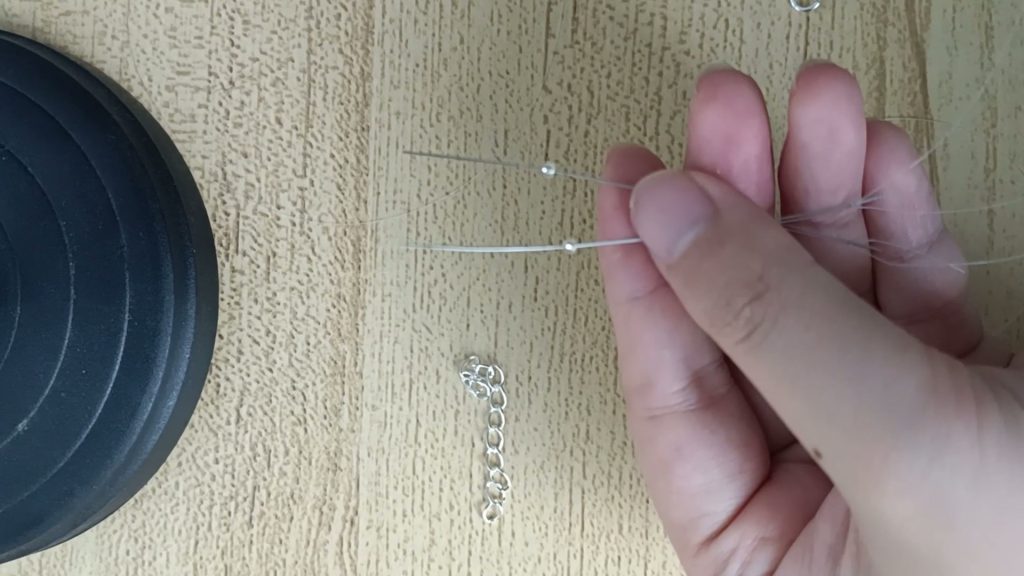
- Add one 6mm bugle bead to each needle. (Timestamp: 00:27)
- Add one 2mm seed bead to each needle. (Timestamp: 00:34)
- Add the Top Bugle Bead: Just as before, take a single 6mm bugle bead and pass both needles through it from opposite directions. Pull the threads to form a neat rectangle. (Timestamp: 00:39)
Step 3: Adding the Crystal Centerpiece
Now for the sparkling interior!
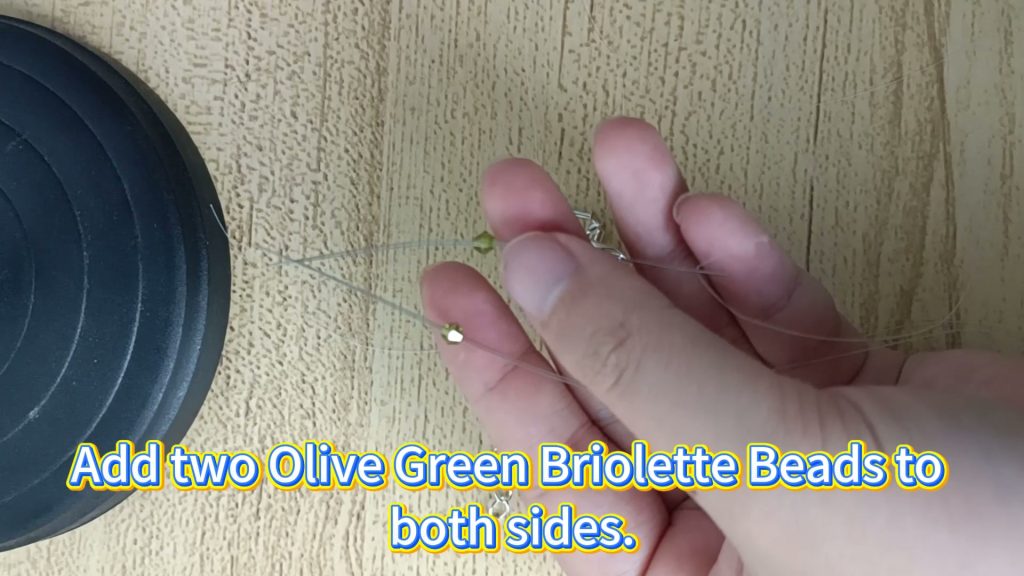
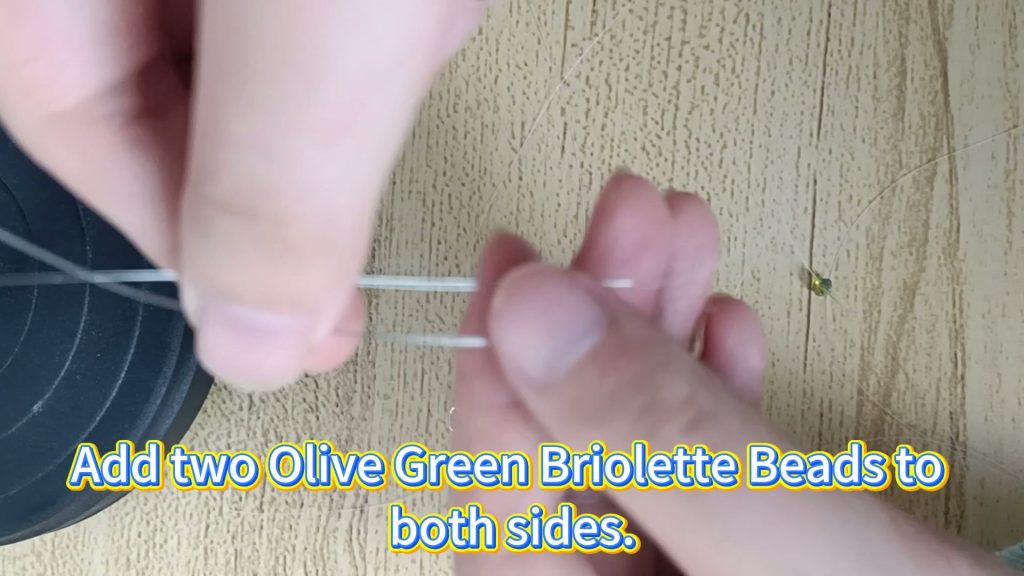
- Add Briolettes: Thread one Olive Green Briolette bead onto each needle. (Timestamp: 00:44)
- Lock with a Seed Bead: Pass both needles through a single 2mm seed bead from opposite directions. This bead will sit in the very center. (Timestamp: 00:49)
- Add More Briolettes: Thread one more Olive Green Briolette bead onto each needle. (Timestamp: 00:54)
Step 4: Completing and Reinforcing the Link
This step is vital for strength and structure. Don’t skip it!
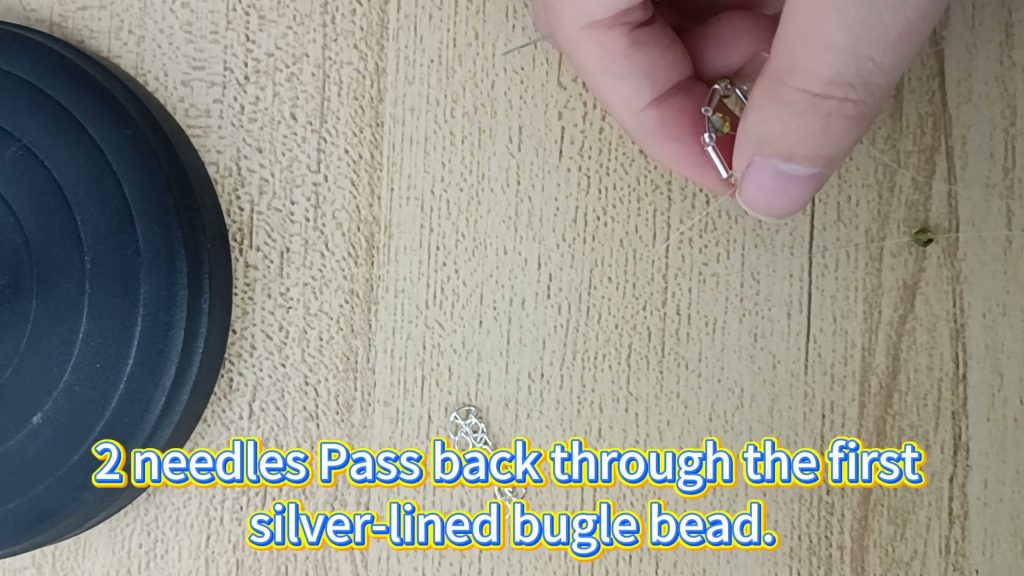
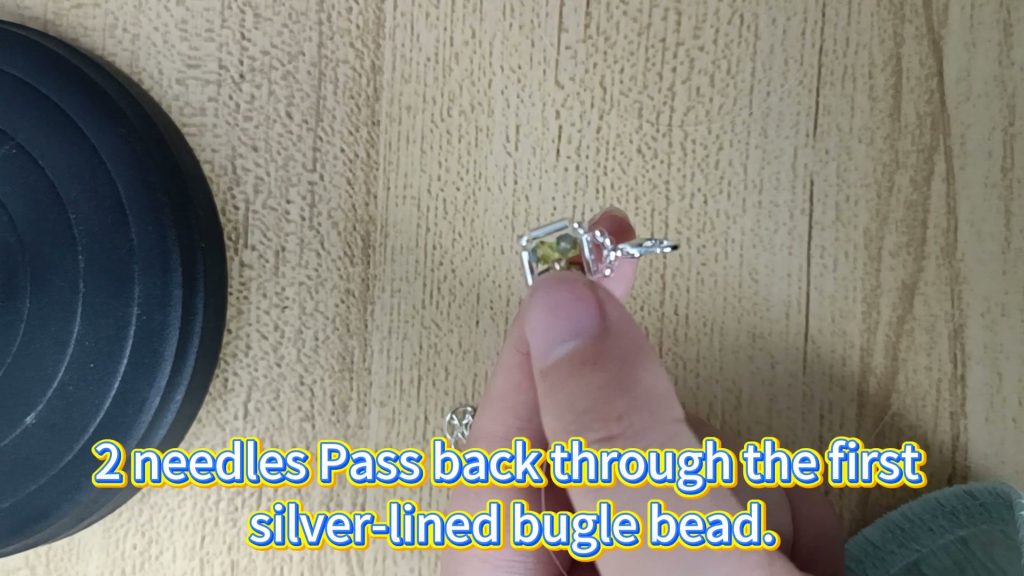
- Close the Component: Guide your needles back and pass them through the bugle bead from Step 2.2 (the first one you added after the clasp), again from opposite directions. As you pull, the briolette beads will snap into place inside the frame. (Timestamp: 1:02)
- Reinforce the Structure: To ensure your bracelet is durable, trace the thread path again. Pass each needle back through the beads on its side of the rectangle (seed bead, bugle bead, seed bead). Meet again at the top bugle bead, passing through from opposite directions once more. (Timestamp: 1:13)
Step 5: Creating the Pearl Spacer Link
This elegant spacer connects your main components.
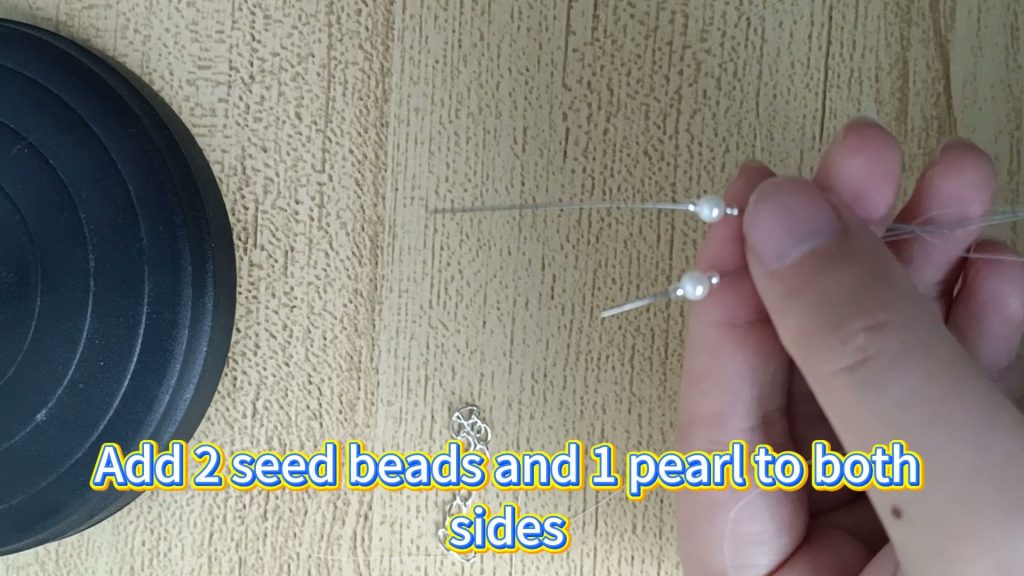
- On each needle, thread the following sequence: one 2mm seed bead, one Crystal Pearl, and one more 2mm seed bead. (Timestamp: 1:40)
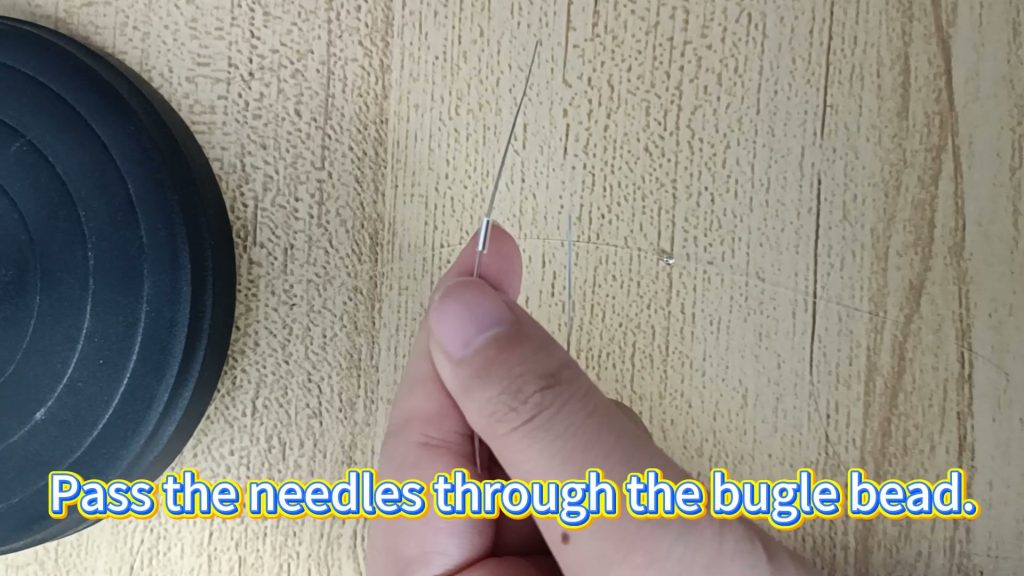
- Take a new 6mm bugle bead and pass both needles through it from opposite directions. Pull snug to complete the spacer link. (Timestamp: 1:48)
Step 6: Repeat for Length
You’ve mastered the pattern! Now, simply repeat Steps 2 through 5 to create another main component, followed by another pearl spacer. Continue this sequence until the bracelet is the perfect length for your wrist.
Step 7: Finishing the Bracelet
- After your final component, add a 2mm seed bead to each thread.
- Pass both needles through the final loop of your extender chain.
- To secure it, pass the needles back through the seed beads and weave the thread tails back into the beadwork. Go through several beads, following the existing thread path, before trimming the excess thread closely. This creates a secure and invisible finish.
Congratulations! You’ve created a beautiful, handcrafted piece of jewelry that you can be proud to wear or give as a thoughtful gift.
Frequently Asked Questions (FAQ)
Here are answers to some common questions you might have about making this beaded bracelet.
Q1: What can I use if I don’t have FireLine thread?
A: If you don’t have FireLine, you can use other durable beading threads like Miyuki Dura-Line, WildFire, or a high-quality nylon thread like Nymo. Just be sure it’s thin enough to pass through your seed beads multiple times.
Q2: My beads are a different size. Will this pattern still work?
A: This pattern is specifically designed for the bead sizes listed. Changing the size of the bugle beads or briolettes will alter the shape and spacing of the components. If you experiment, you may need to adjust the number of seed beads used as spacers to make everything fit correctly.
Q3: How do I choose colors that work well together?
A: A great starting point is the color wheel. You can choose complementary colors (opposites on the wheel, like blue and orange), analogous colors (next to each other, like blue and green), or a monochrome palette (different shades of the same color). For this design, picking a metallic bugle/seed bead (silver, gold, bronze) and a colored crystal is a classic, can’t-miss combination.
Q4: My thread isn’t long enough to finish the bracelet. What should I do?
A: Don’t worry! You can add new thread. To do this, weave your short thread tails back into the existing beadwork and secure them with a few half-hitch knots over the thread between beads before trimming. Then, start a new thread by weaving it into the beadwork and bringing your needles out where you left off.
Q5: How do I care for my handmade beaded bracelet?
A: To keep your bracelet looking its best, avoid exposing it to water, perfumes, or lotions. Store it flat or in a separate pouch to prevent it from getting tangled or scratched. Gently wipe with a soft, dry cloth if needed.