Turn a handful of beads into a stunning piece of jewelry that looks like delicate lace. In this tutorial, we are creating a DIY Pearl and Crystal Lace Bracelet. This design features a classic “tennis bracelet” style spine adorned with elegant scalloped edging. It is the perfect project for bridal jewelry, holiday gifts, or adding a touch of sparkle to your daily outfit.
Despite its intricate appearance, this pattern uses a repetitive cross-weaving technique that beginners can master quickly.
🛠️ Materials & Tools List
To achieve the professional finish shown in the video, precision with your bead sizes is key.
- 2mm Round Seed Beads: Silver or Metallic finish (Miyuki or Toho size 11/0 recommended).
- 4mm Bicone Crystals: Light Sapphire/Blue (Swarovski or Preciosa).
- 6mm Round Pearls: White or Cream (Swarovski crystal pearls or glass pearls).
- Magnetic Clasp: Cylinder style (Silver).
- Beading Thread: 0.2mm Clear Monofilament (Fishing line) or Fireline (6lb test).
- 2 Beading Needles: Size 11 or 12.
- Scissors.
📝 Step-by-Step Instructions
We will break this down into two phases: creating the Base Structure (the pearls and crystals) and adding the Lace Edging.
Phase 1: The Base Structure
Step 1: Attach the First Clasp
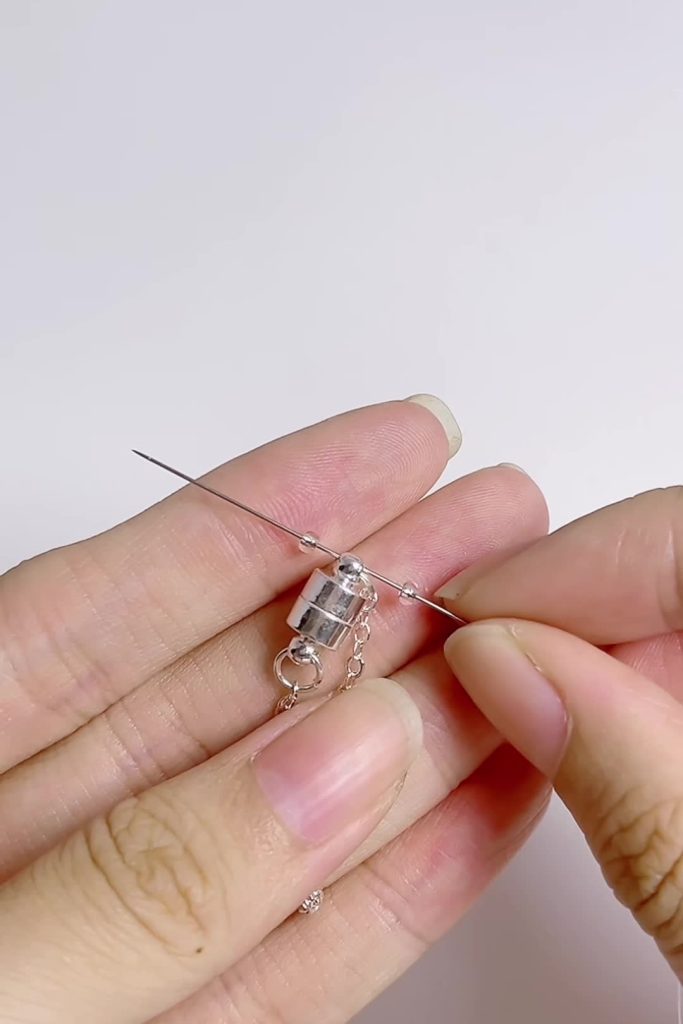
[00:04] Cut a comfortable length of thread (approx. 1.5 meters) and thread a needle on each end. Slide your magnetic clasp to the center of the thread.
Step 2: Secure the Clasp
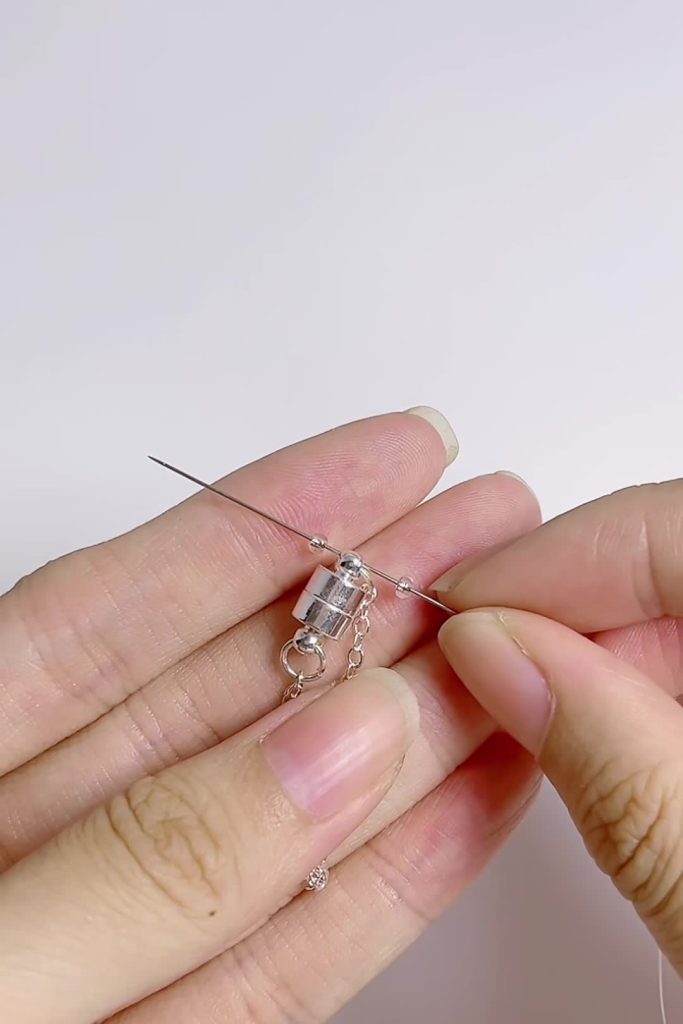
[00:06] Thread 1 seed bead onto one needle. Take the other needle and pass it through that same seed bead in the opposite direction (cross-pass) to lock the clasp in place. Pull tight.
Step 3: Begin the Pattern
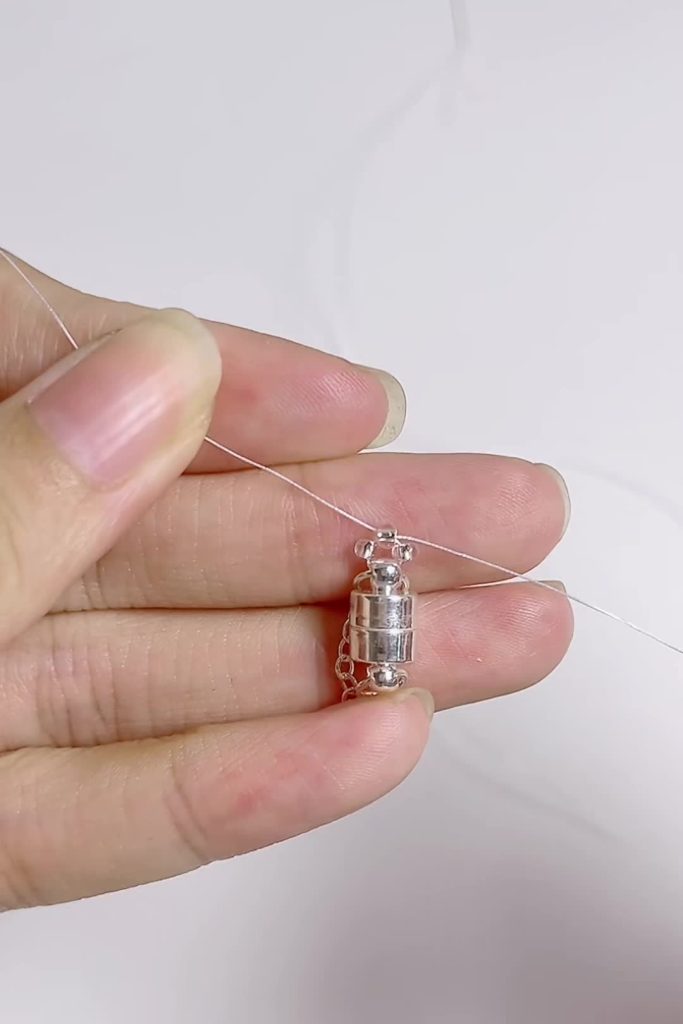
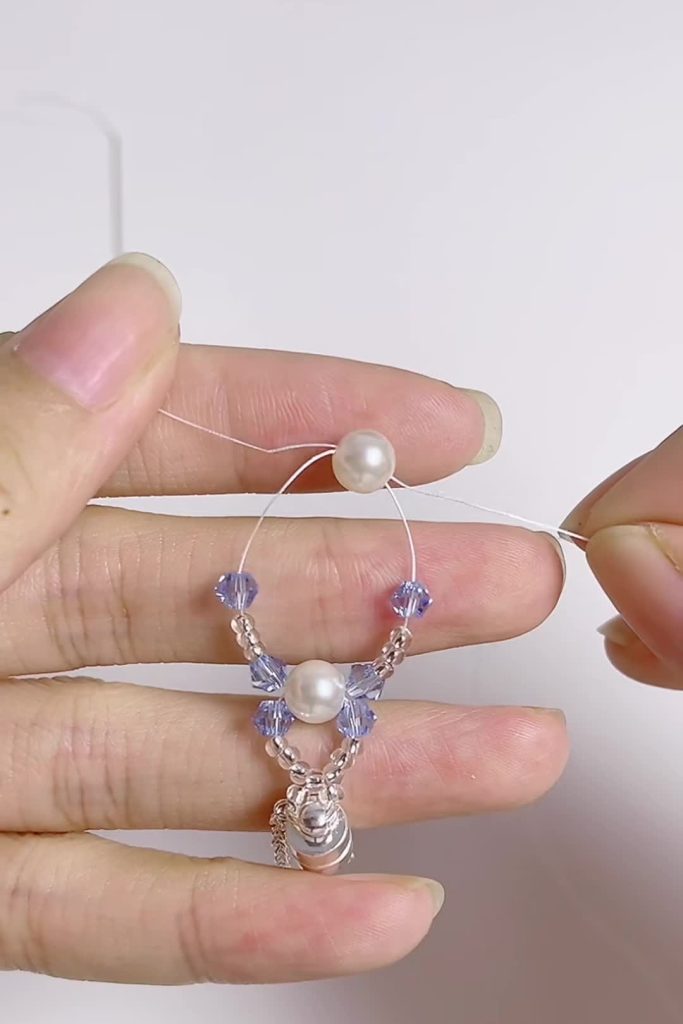
[00:08] On the Left Needle, thread 3 seed beads and 1 bicone crystal. On the Right Needle, thread 3 seed beads and 1 bicone crystal.
Step 4: The Pearl Cross
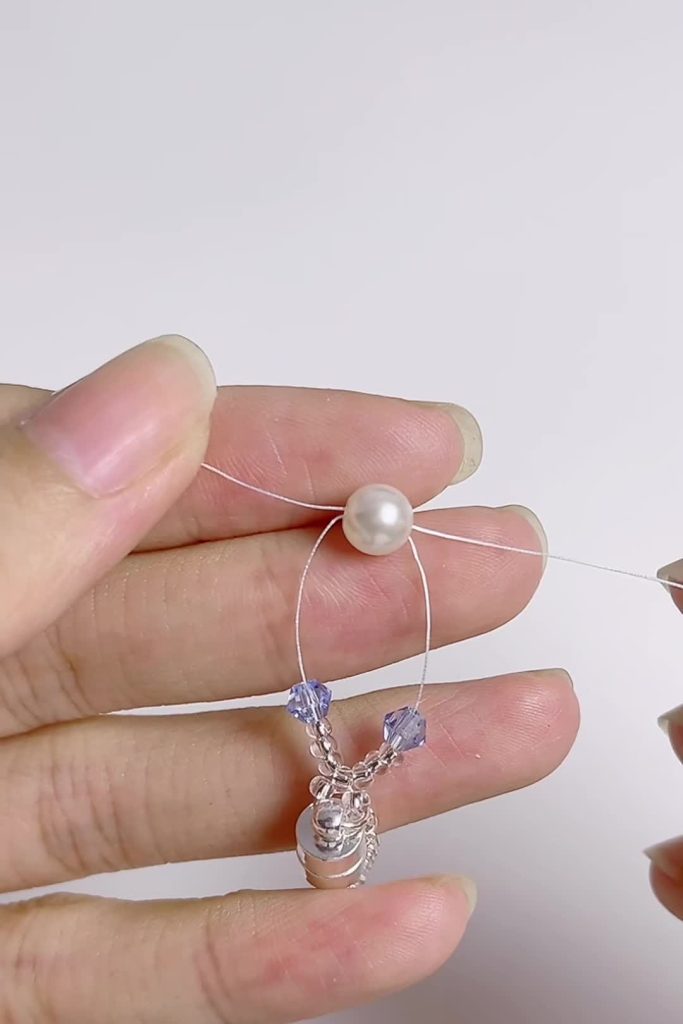
[00:11] Thread 1 Pearl onto the Left Needle. Take the Right Needle and cross-pass through the pearl. Pull both threads tight so the pearl sits centered above the crystals.
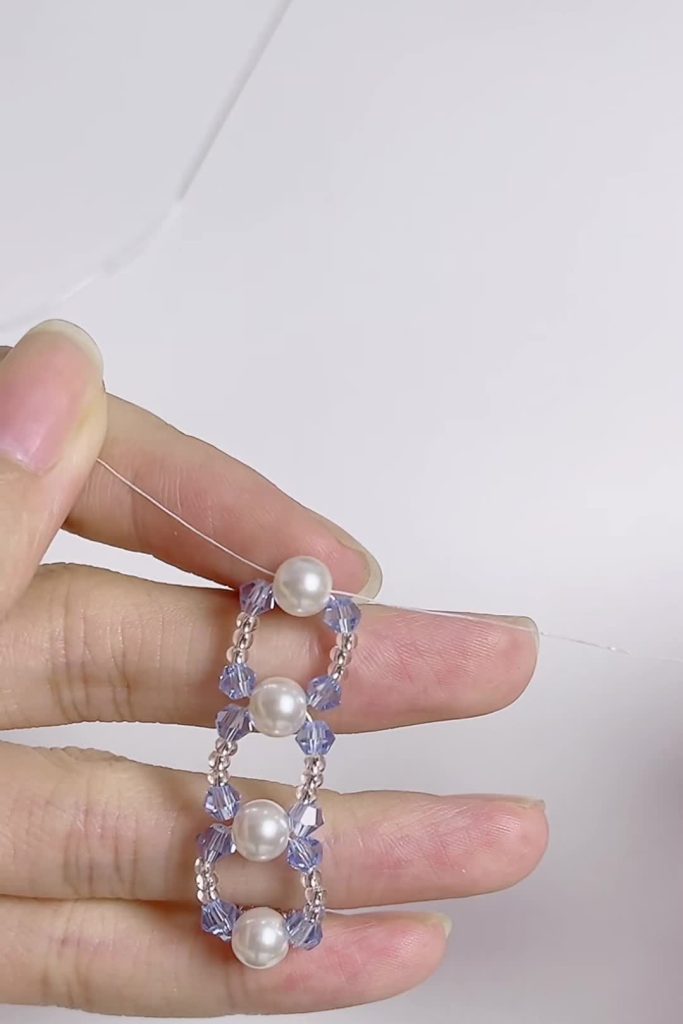
Step 5: Continue the Sequence
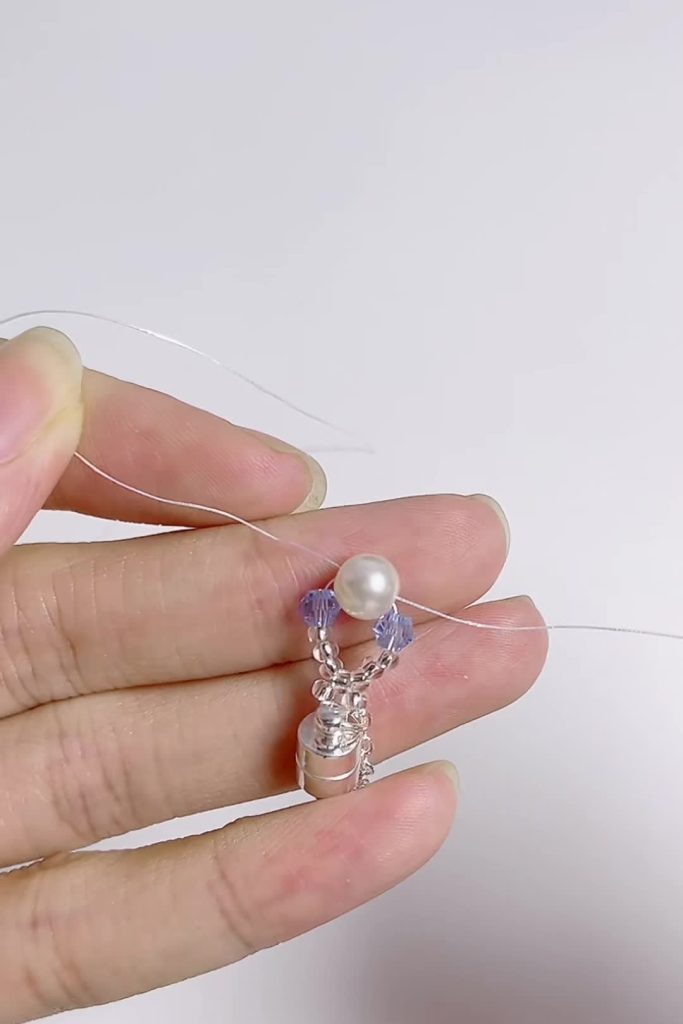
[00:13] Note the change in order here:
- Left Needle: Thread 1 Crystal, then 3 Seed Beads.
- Right Needle: Thread 1 Crystal, then 3 Seed Beads.
Step 6: Repeat the Cross
[00:16] Thread a new Pearl and cross both needles through it. Repeat Steps 5 and 6 until the bracelet reaches your desired length (usually about 6–7 inches depending on wrist size).
Step 7: Prepare the End Clasp
[00:24] Once the length is correct, thread 1 Crystal followed by 3 Seed Beads onto each needle.
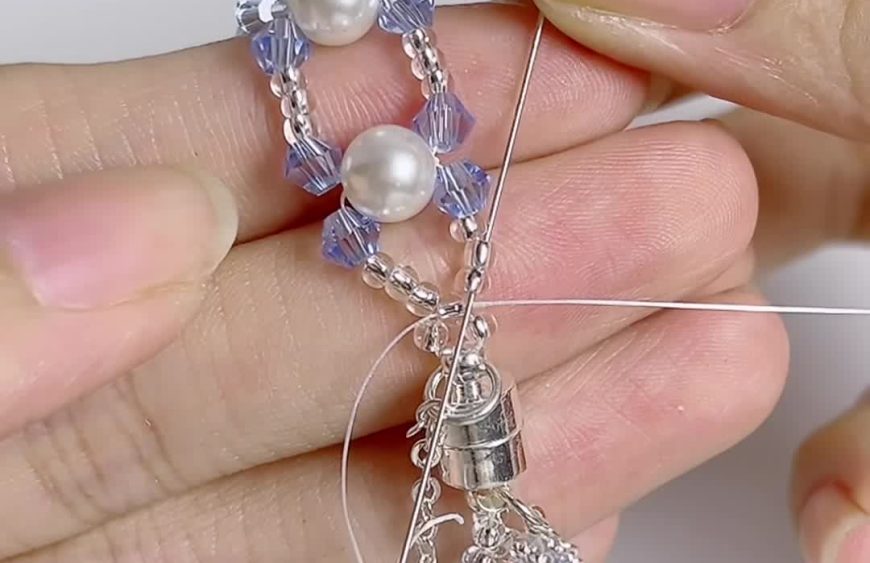
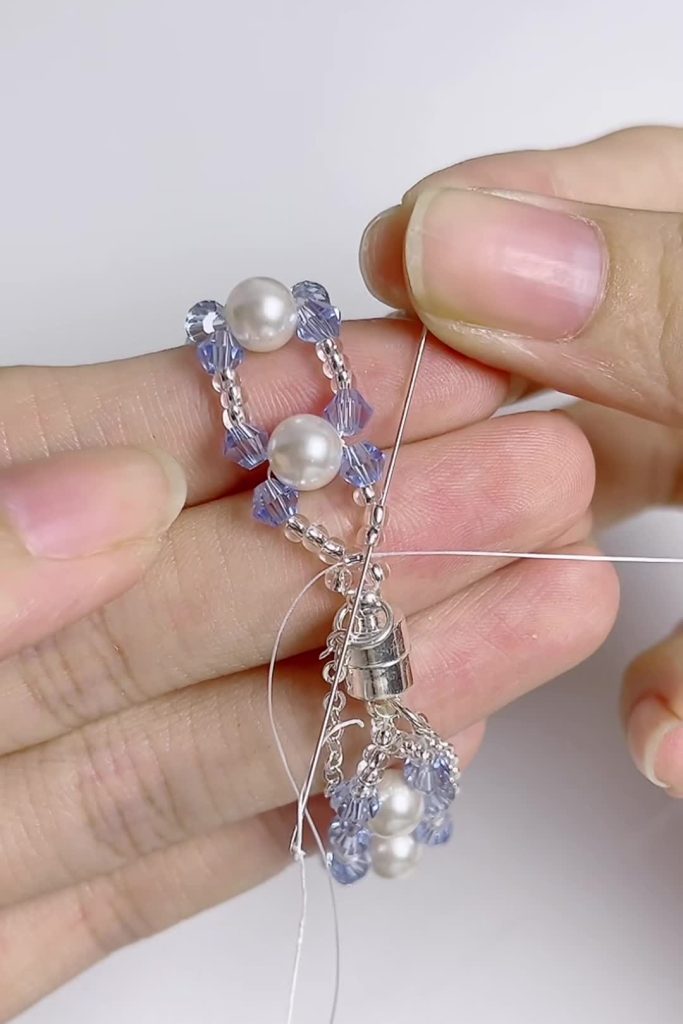
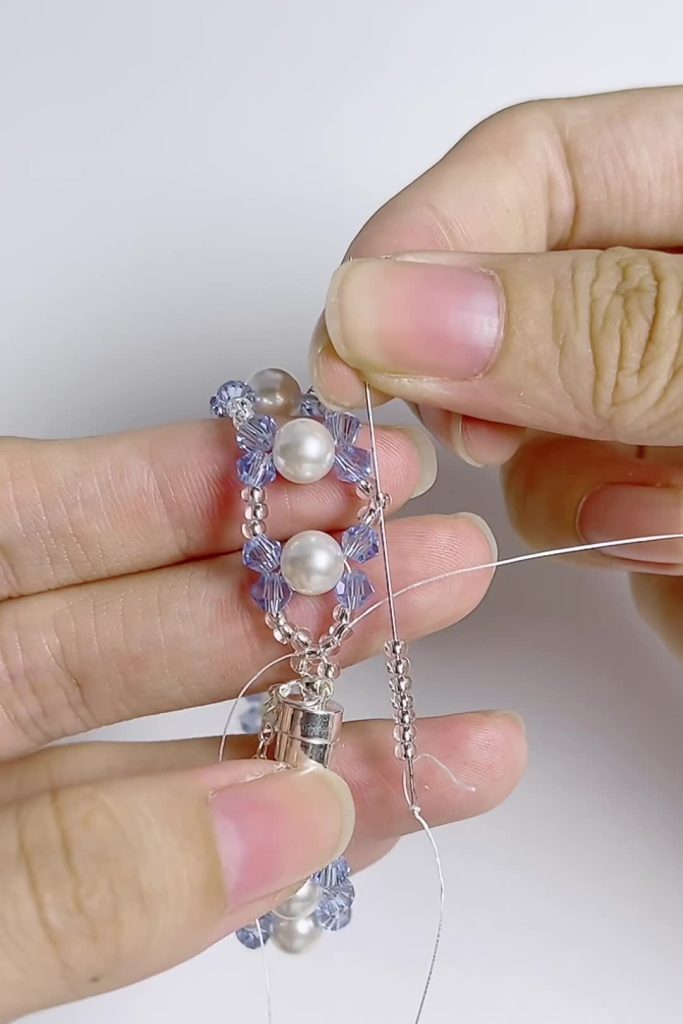
Step 8: Attach the Second Clasp
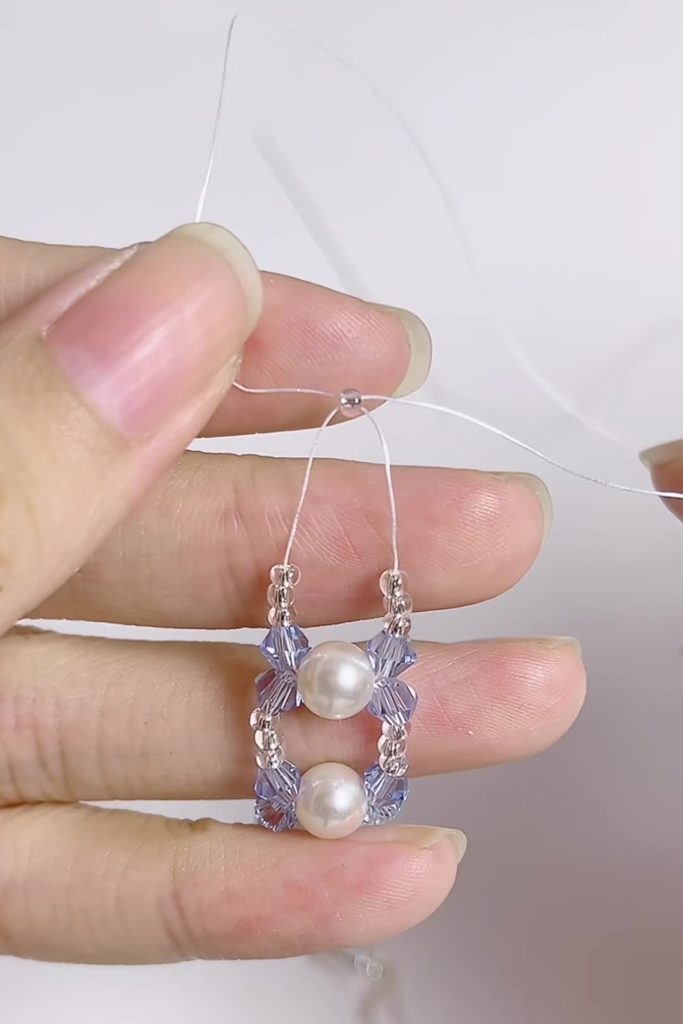
[00:27] Cross both needles through 1 single seed bead. Thread the second half of your magnetic clasp onto the wire, then loop the thread back through the clasp and knot or weave back to secure it.
Phase 2: The Lace Edging
Now we will add the delicate “scalloped” edges that give the bracelet its lace effect.
Step 9: Position the Thread
[00:35] Take your remaining thread (or start a new one if short) and pass it through the 2 seed beads immediately adjacent to the bicone crystal on the side of the bracelet.
Step 10: Create the Scallop
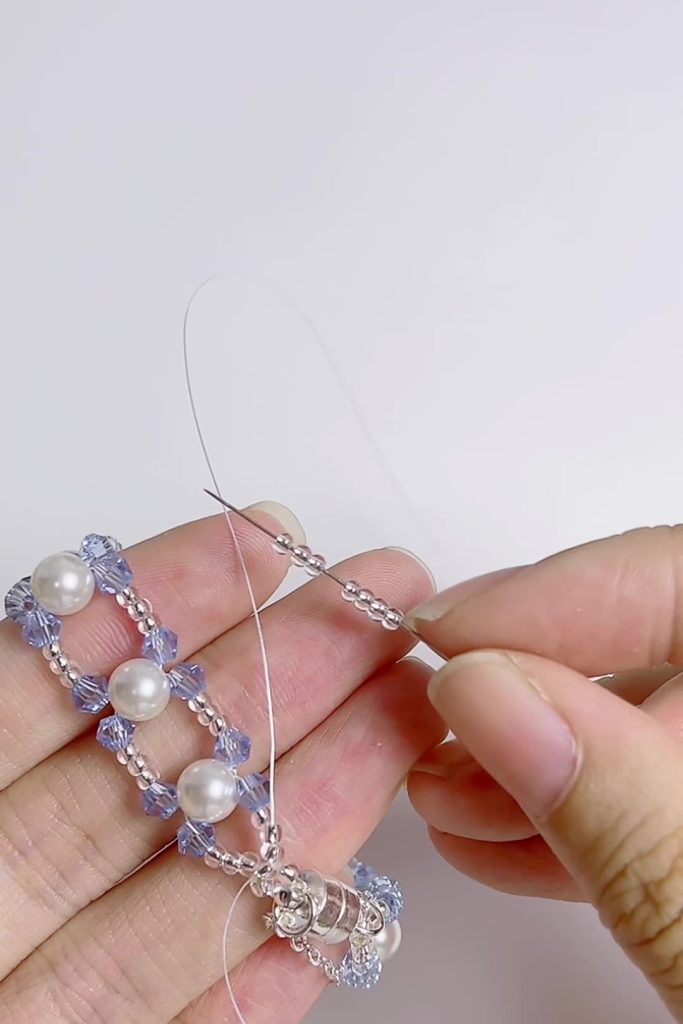
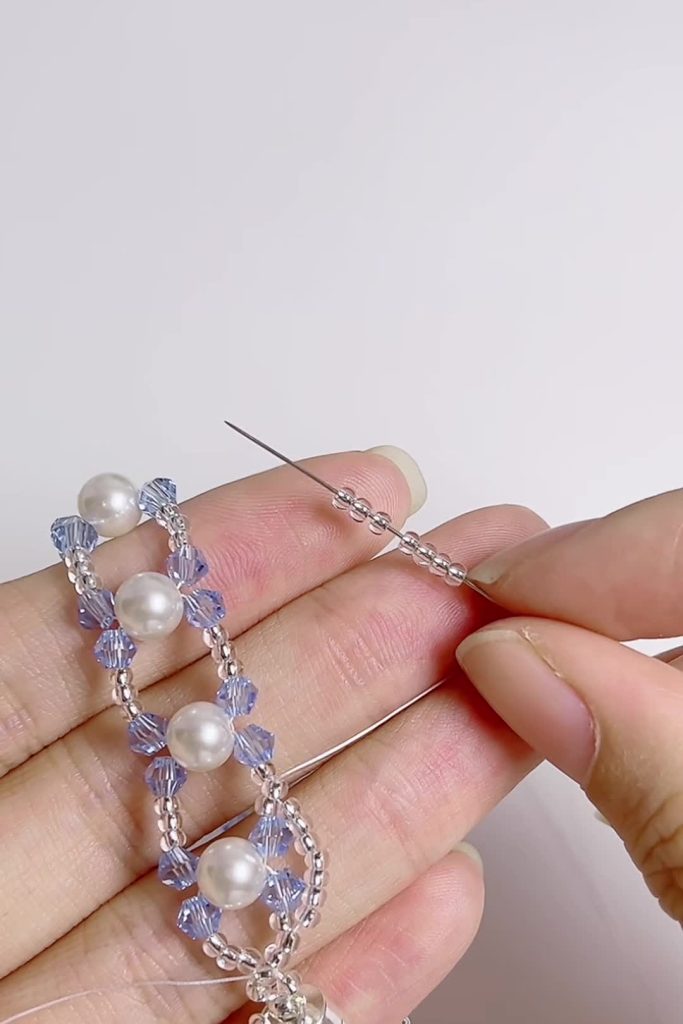
[00:37] Pick up 7 seed beads onto your needle.
Step 11: Anchor the Scallop
[00:39] Identify the group of 3 seed beads between the crystal and the pearl in the next segment. Pass your needle through the middle (center) seed bead of that group. This creates a perfect arch.
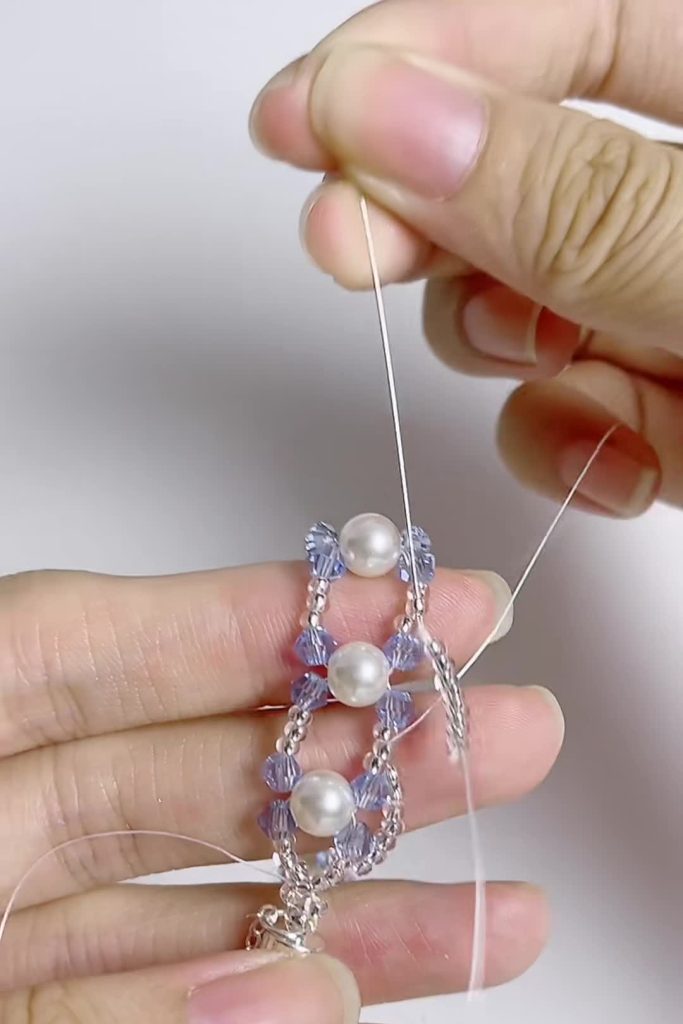
Step 12: Repeat Down the Side
[00:43] Pick up another 7 seed beads and pass through the middle seed bead of the next segment. Continue this all the way down the left side of the bracelet.
Step 13: Finish the Second Side
[00:46] Once you reach the end, weave your thread through the clasp area to turn around, and repeat the scalloping process on the right side of the bracelet. Tie off your threads, weave in ends, and trim.
🔧 Troubleshooting & Pro-Tips
- The “Buckling” Issue: If your bracelet twists or doesn’t lay flat, your tension is likely too tight. When adding the 7 seed beads for the edging, ensure they sit loosely enough to curve around the crystals without pulling the main structure.
- Needle Choice: Because you are passing through the seed beads multiple times (especially that middle bead in the groups of three), use a thin, flexible needle (Size 12). A thick needle might break the glass beads.
- Clasp Security: Magnetic clasps are convenient, but heavy. Ensure you reinforce the connection to the clasp by passing your thread through the clasp loop at least twice.
🎨 Variations to Try
- The “Gothic” Look: Use black pearls, Jet AB crystals, and gunmetal seed beads.
- Bridal Classic: Use Cream pearls, clear crystals, and gold seed beads.
- Minimalist: Skip Phase 2 (the Lace Edging) for a sleek, modern pearl and crystal geometric bracelet.
🙋♀️ Frequently Asked Questions (FAQ)
Q: Can I use stretchy cord for this project?
A: It is not recommended. This design requires structure and tension to hold the “lace” shape. Stretchy cord will cause the heavy pearls to sag and the pattern to distort. Use fishing line or Fireline.
Q: What size wrist does this pattern fit?
A: The video demonstrates a standard pattern. Measure your wrist and subtract the length of the clasp. Keep repeating the “Pearl Cross” step until you reach that length before adding the final clasp.
Q: How do I hide the knots?
A: Never cut a knot close to the bead without glue. The best method is to tie a knot, thread the tail through 2-3 adjacent beads, tie another half-hitch knot, thread through a few more beads, and then trim.
Q: My seed beads are uneven, does it matter?
A: Yes. For geometric patterns like this, consistent bead size is crucial. Japanese brands like Miyuki or Toho are much more uniform than cheaper generic glass beads.